NOTE: This guide is to set up Microsoft Authenticator on your phone but a similar process will apply for other apps such as Authy or Google Authenticator.
1. Download Microsoft Authenticator app from Apple/Google app store.
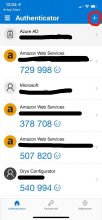
2. Open Microsoft Authenticator and click the '+' to add a new account.
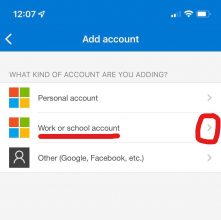
3. The choose the 'Work or School account' option from the Add Account list.
4. Microsoft Authenticator should then open the Scan QR code screen so you can use your phone to scan the QR code on the TIS Self-Service app.

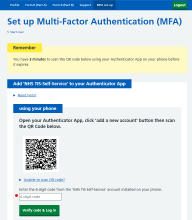
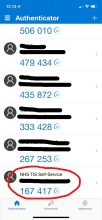
5. The NHS TIS Self-Service account should now be installed on Microsoft Authenticator which generates a new 6-digit code every 30 seconds for you to input into the TIS Self-Service app when prompted.
6. Enter the 6-digit code generated in the 'NHS TIS Self-Service' account (remember a new code is generated every 30 secs) on your Authenticator app and click 'Verify code & log in'.