The following instructions are for Microsoft Authenticator but others such as Authy or Google Authenticator will work just as well.
- Visit your Play Store / the App Store.
- Search for “Microsoft Authenticator” and install the App on your smartphone.
- Launch the app and on first use, you will be prompted with an immediate “Add account”.
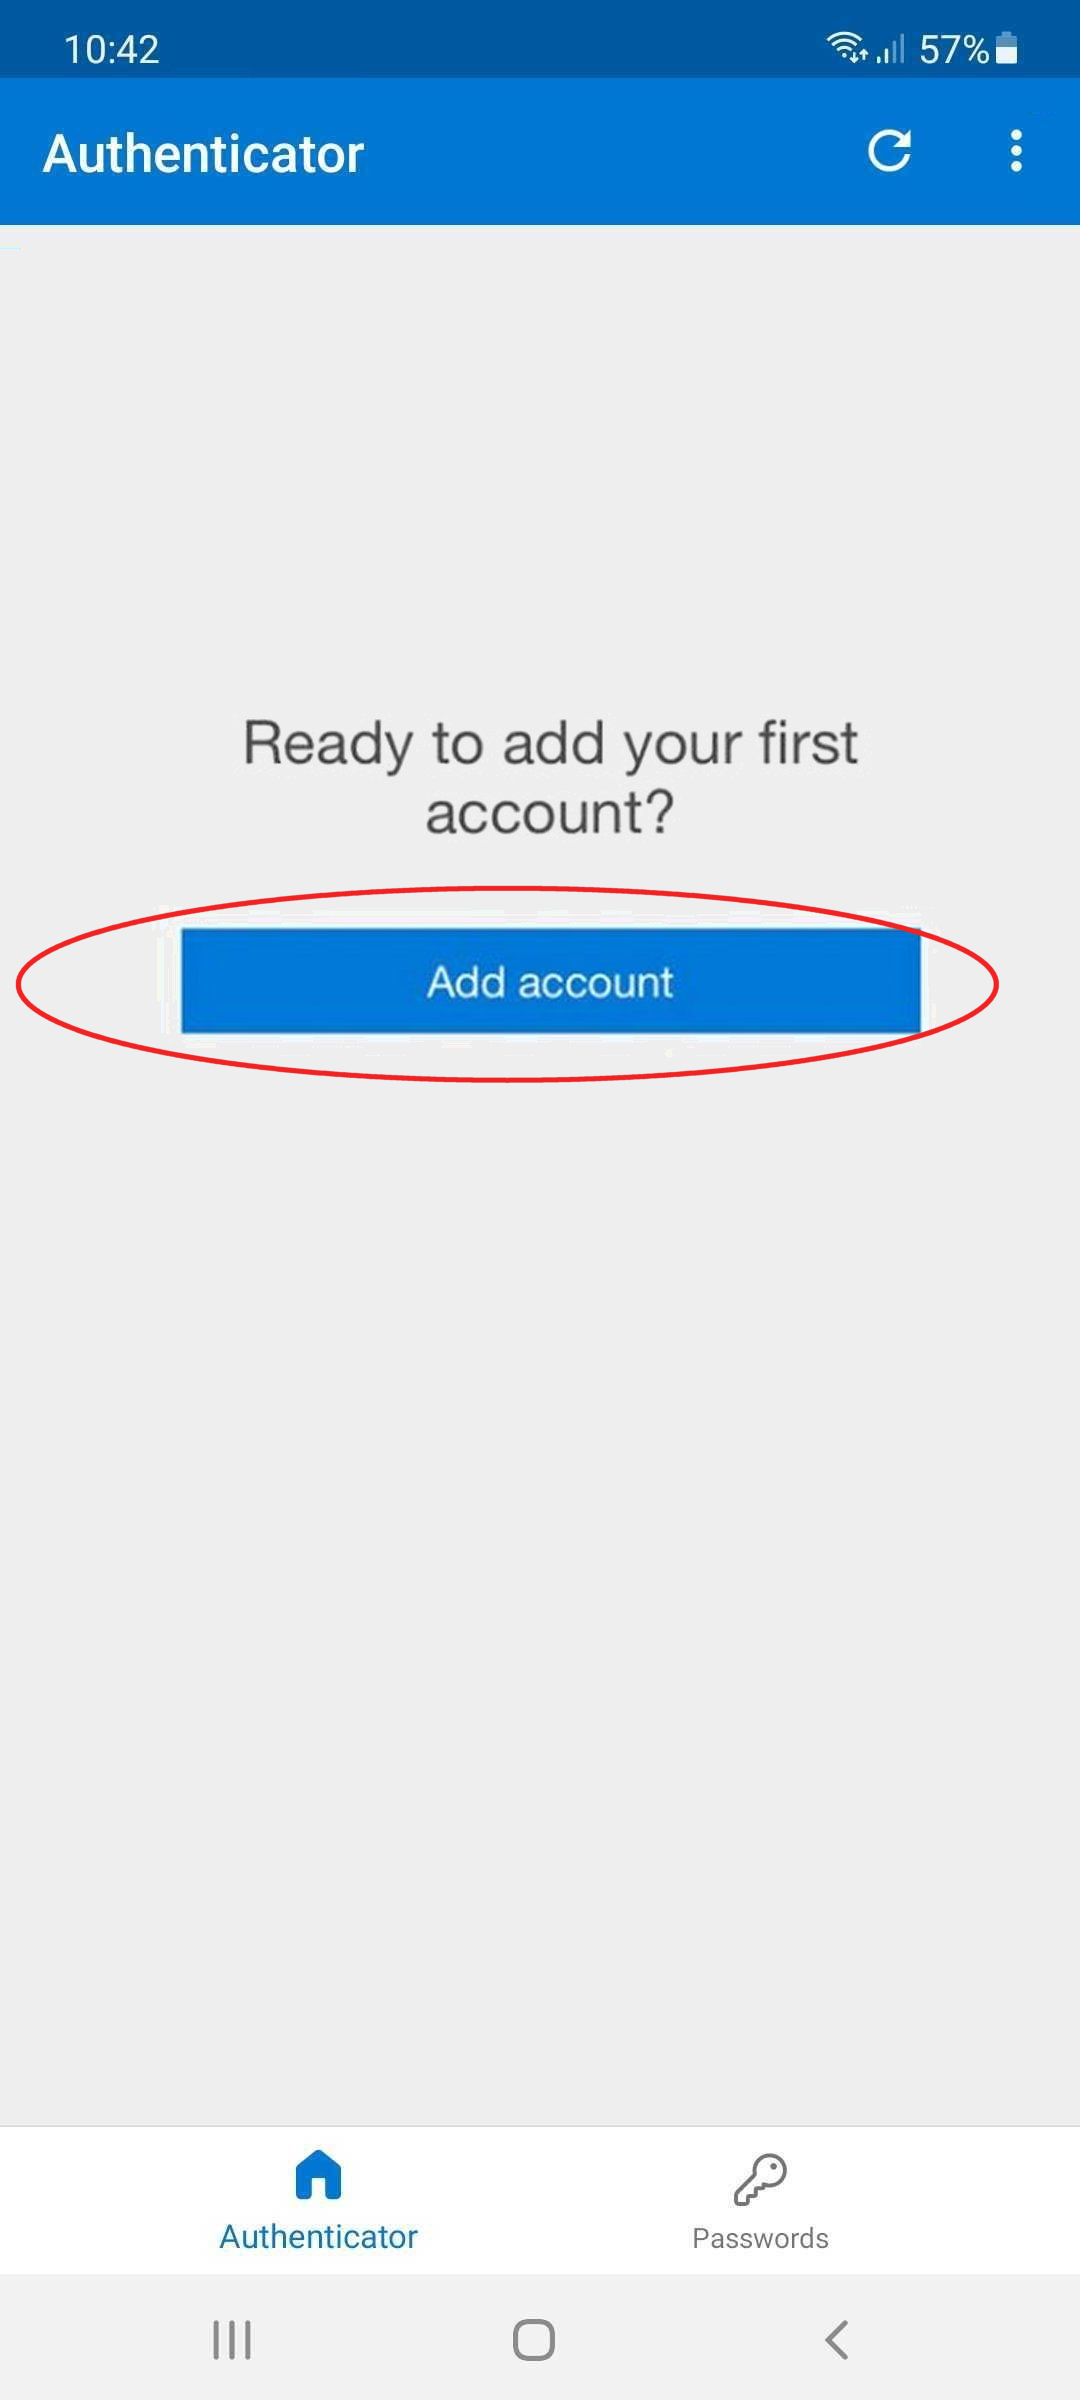
(To add a new account, tap on the ellipsis – the three dots at the top right of the screen)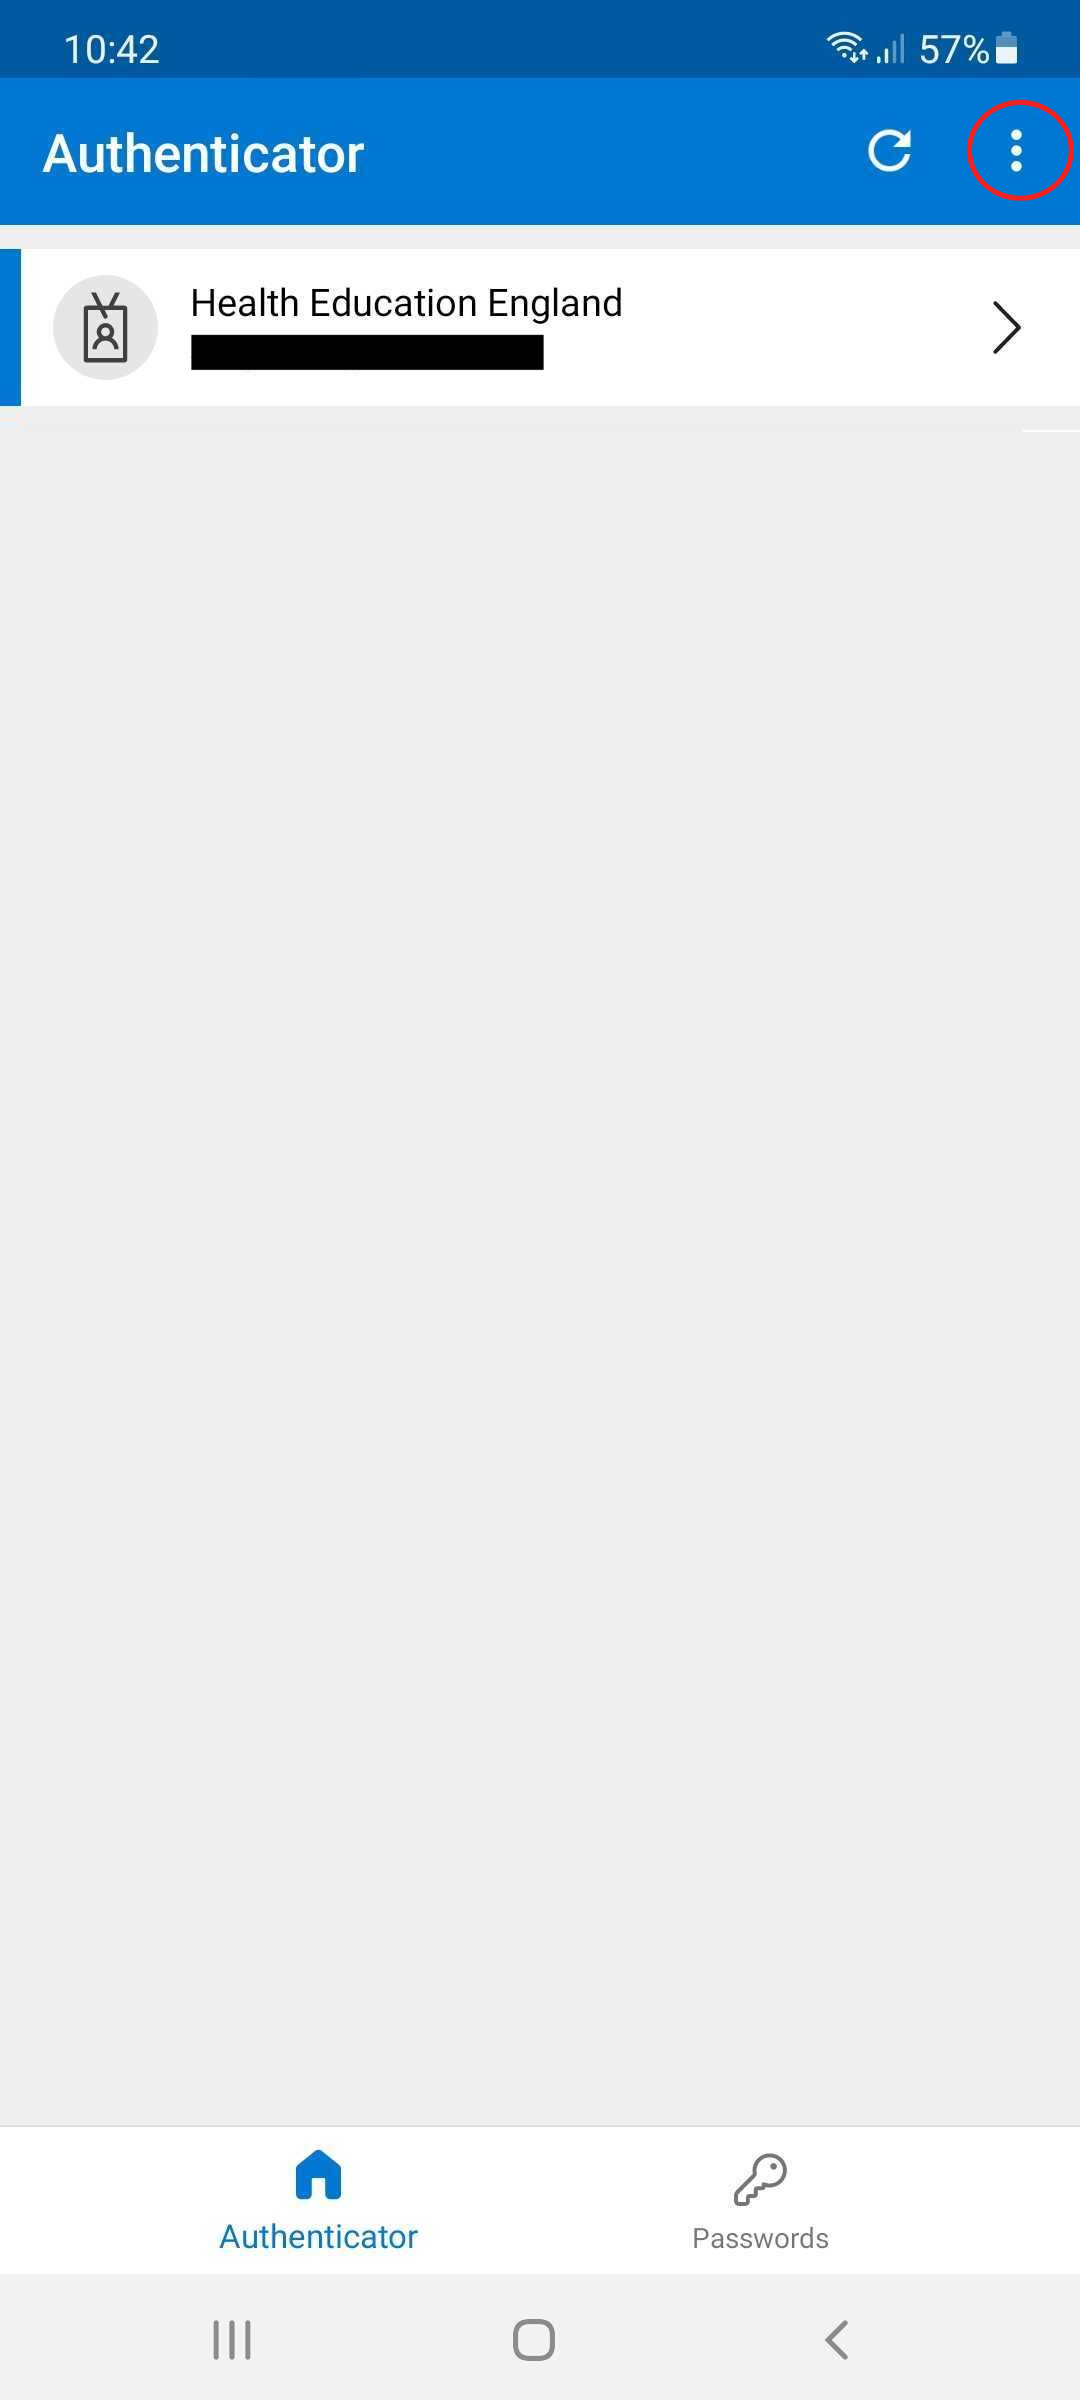

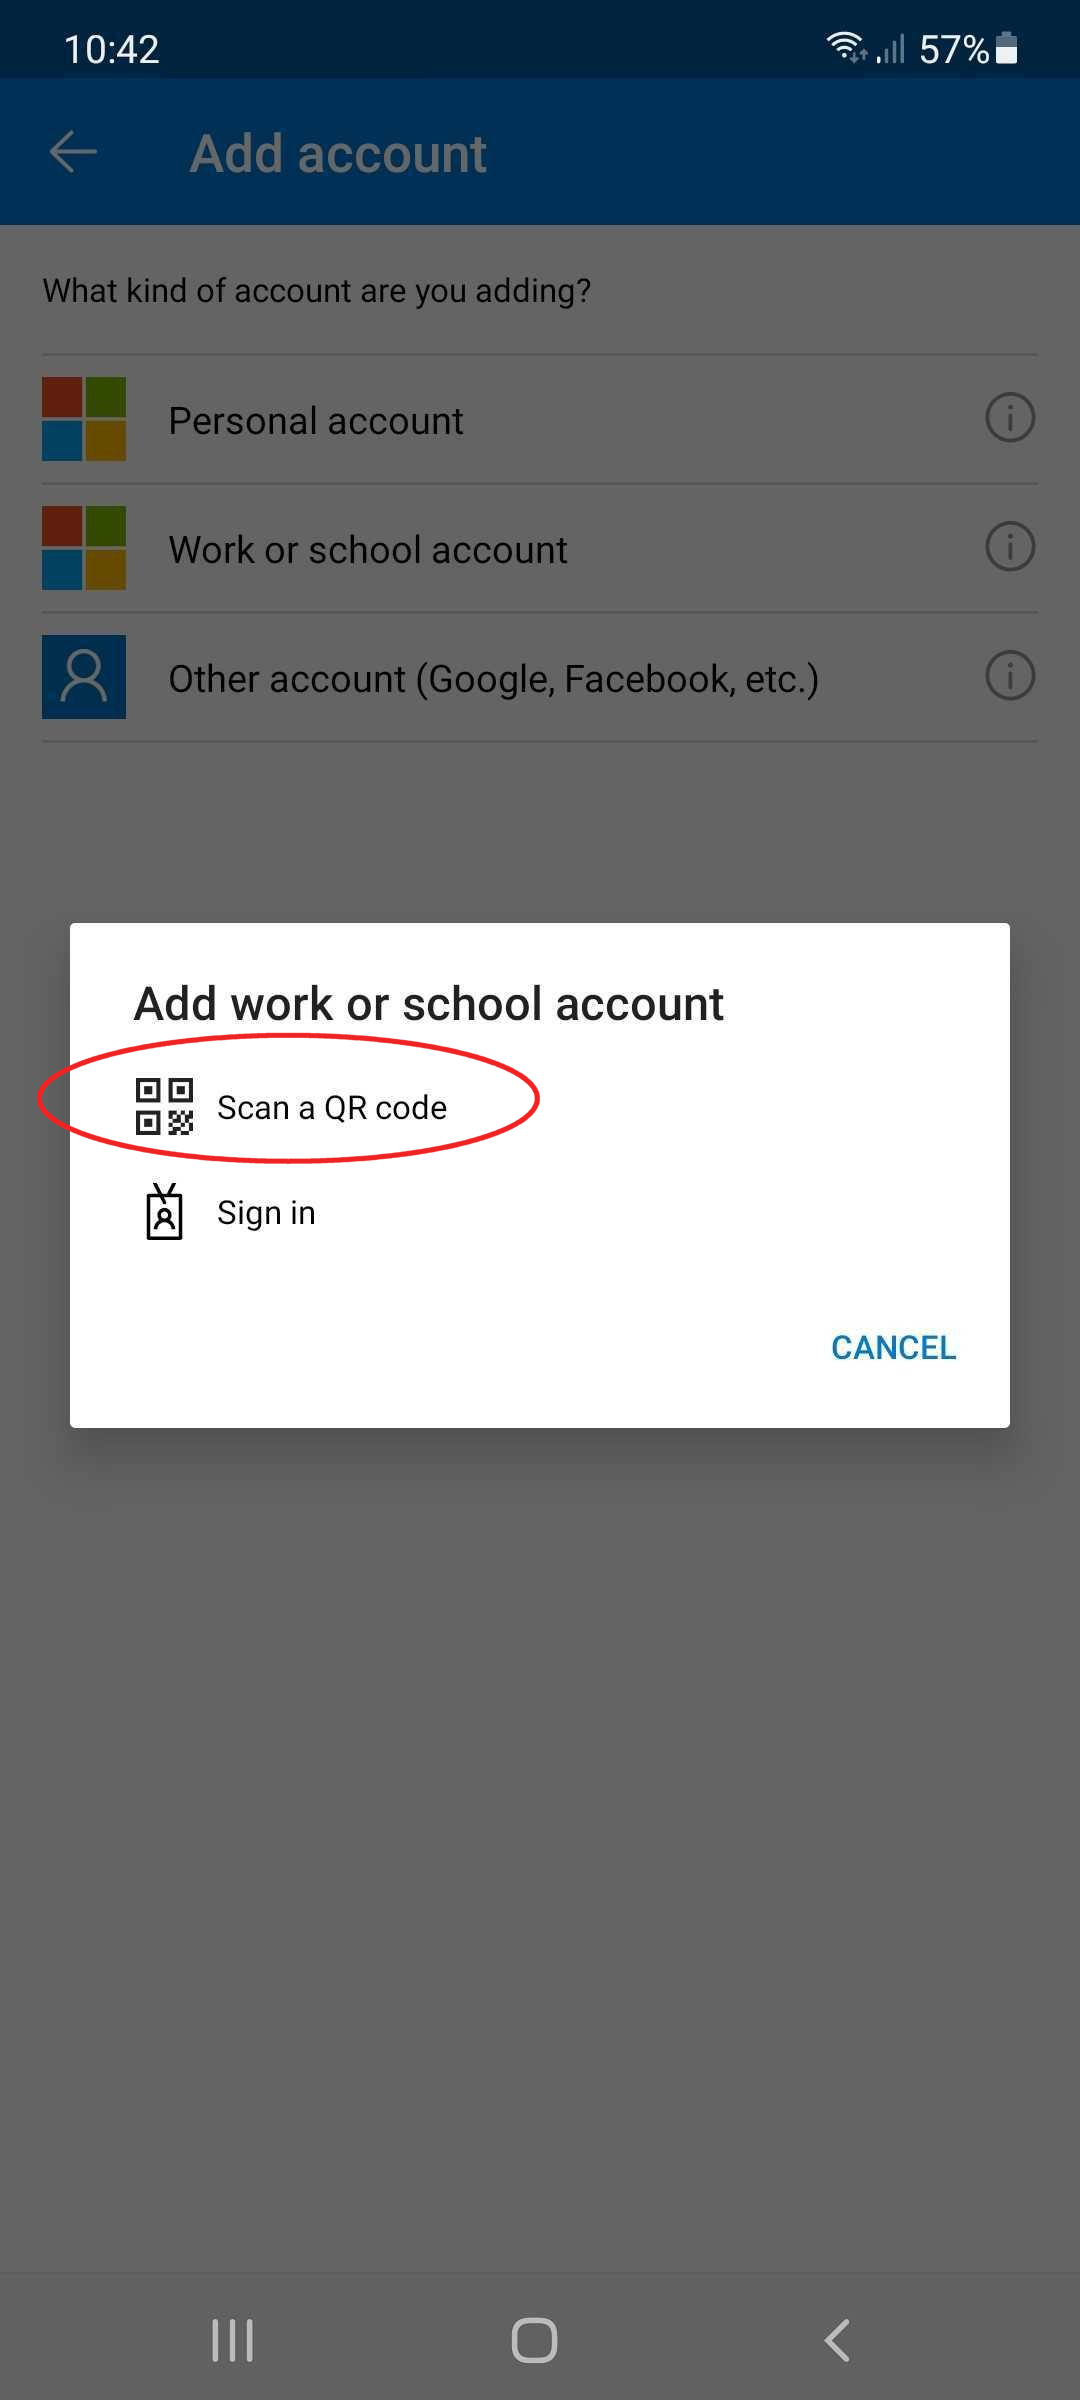
- Tap “Work account”.
[Note: tapping “Personal account” is also valid]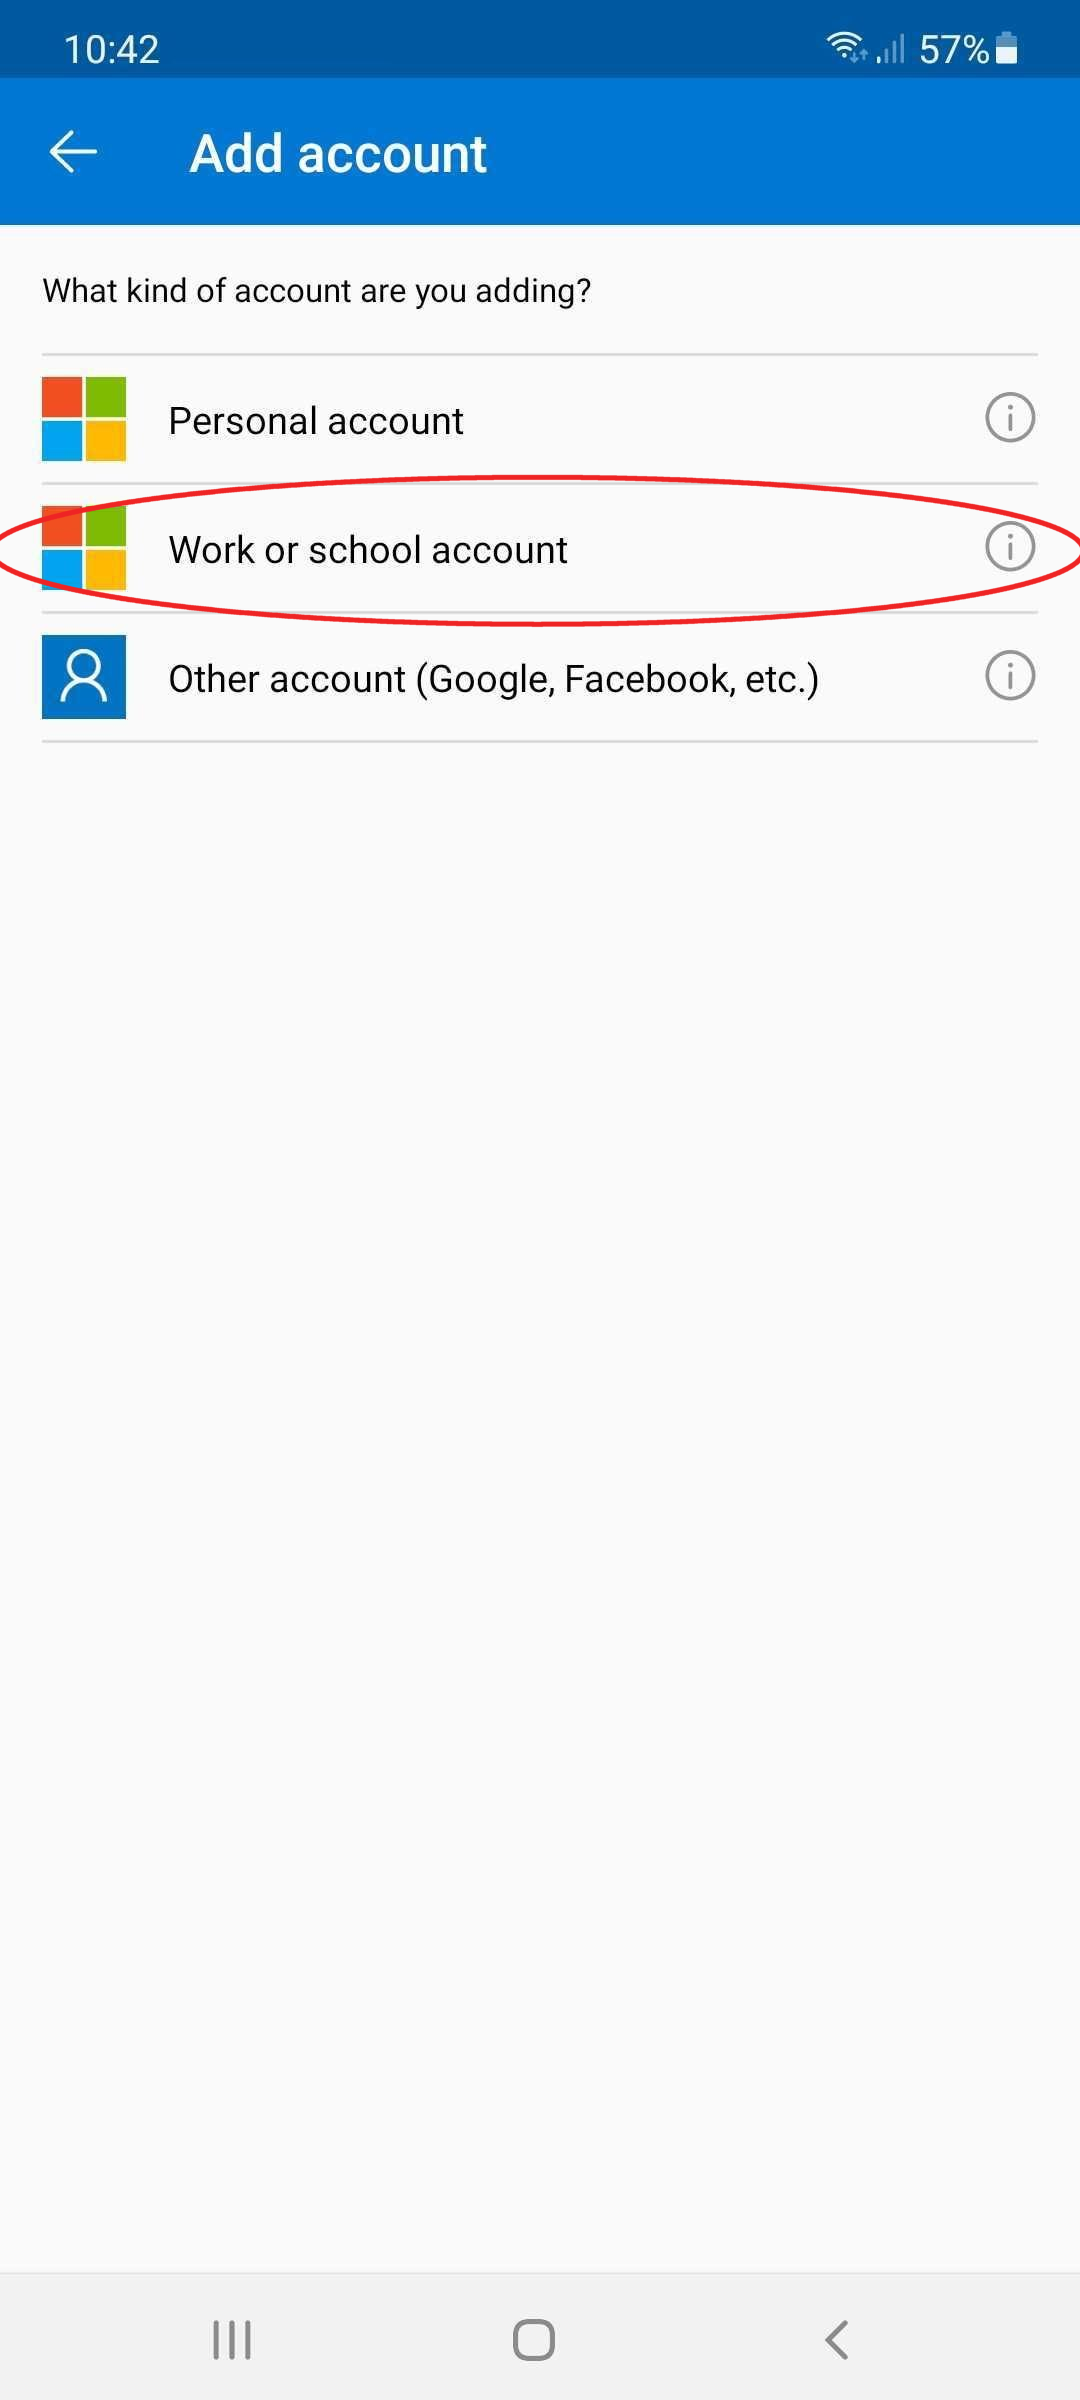
- Tap “Scan a QR code” and point the phone’s camera at the QR code presented on your login page (not the image in the screenshot below – this is included to confirm what the page will look like) of the Trainee Self-service app. You may be prompted at this point to grant permission to allow Microsoft Authenticator access to your camera.
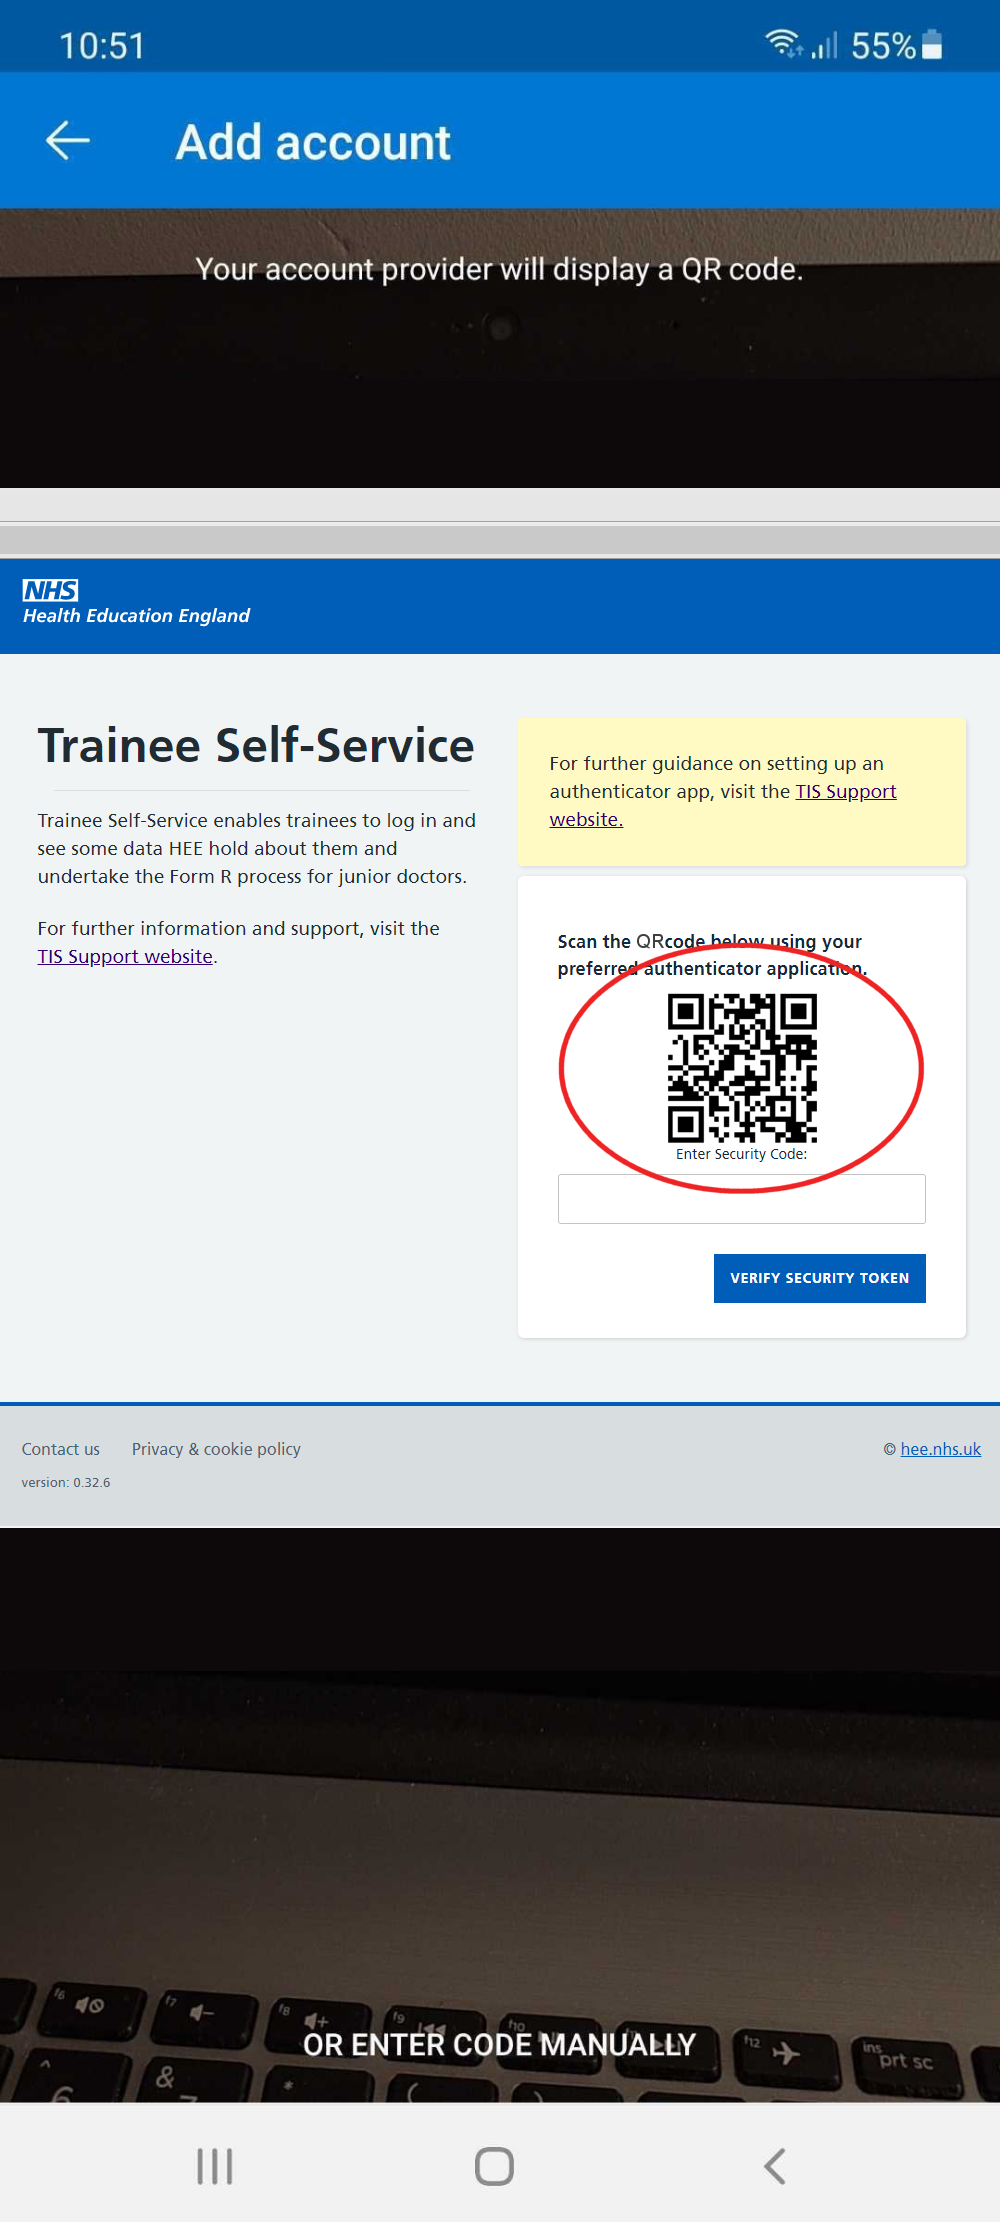
- Scanning the QR code will automatically add “Trainee Self-Service” to your list of accounts that can be authenticated. This is the only time you will be asked to scan the QR code.
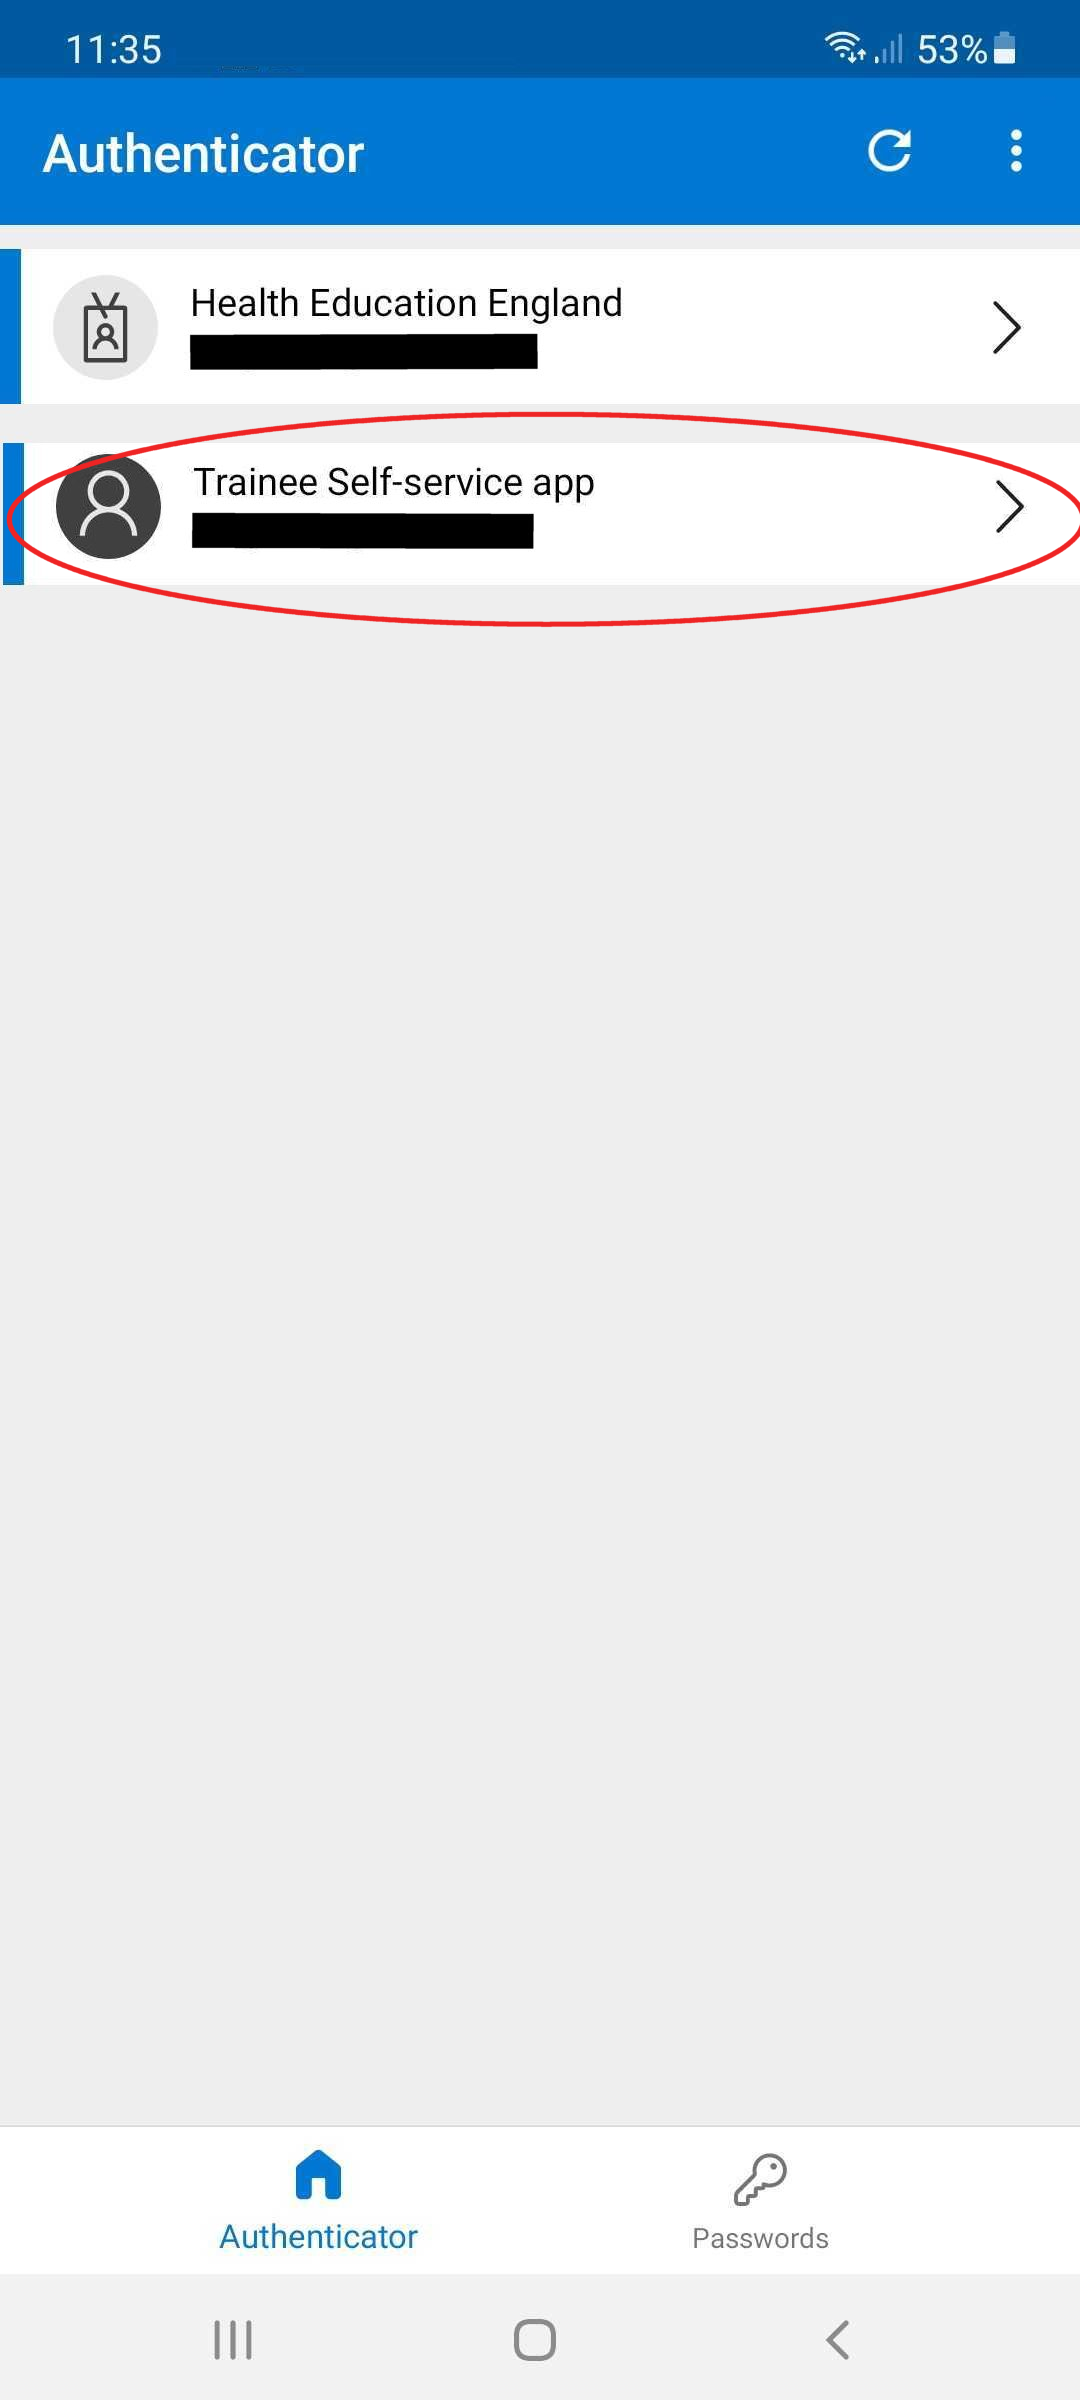
- To use the Authenticator app in future, you will only need to open the app, select “Trainee Self-service app” and look at the timer next to the 6 digit code it presents.
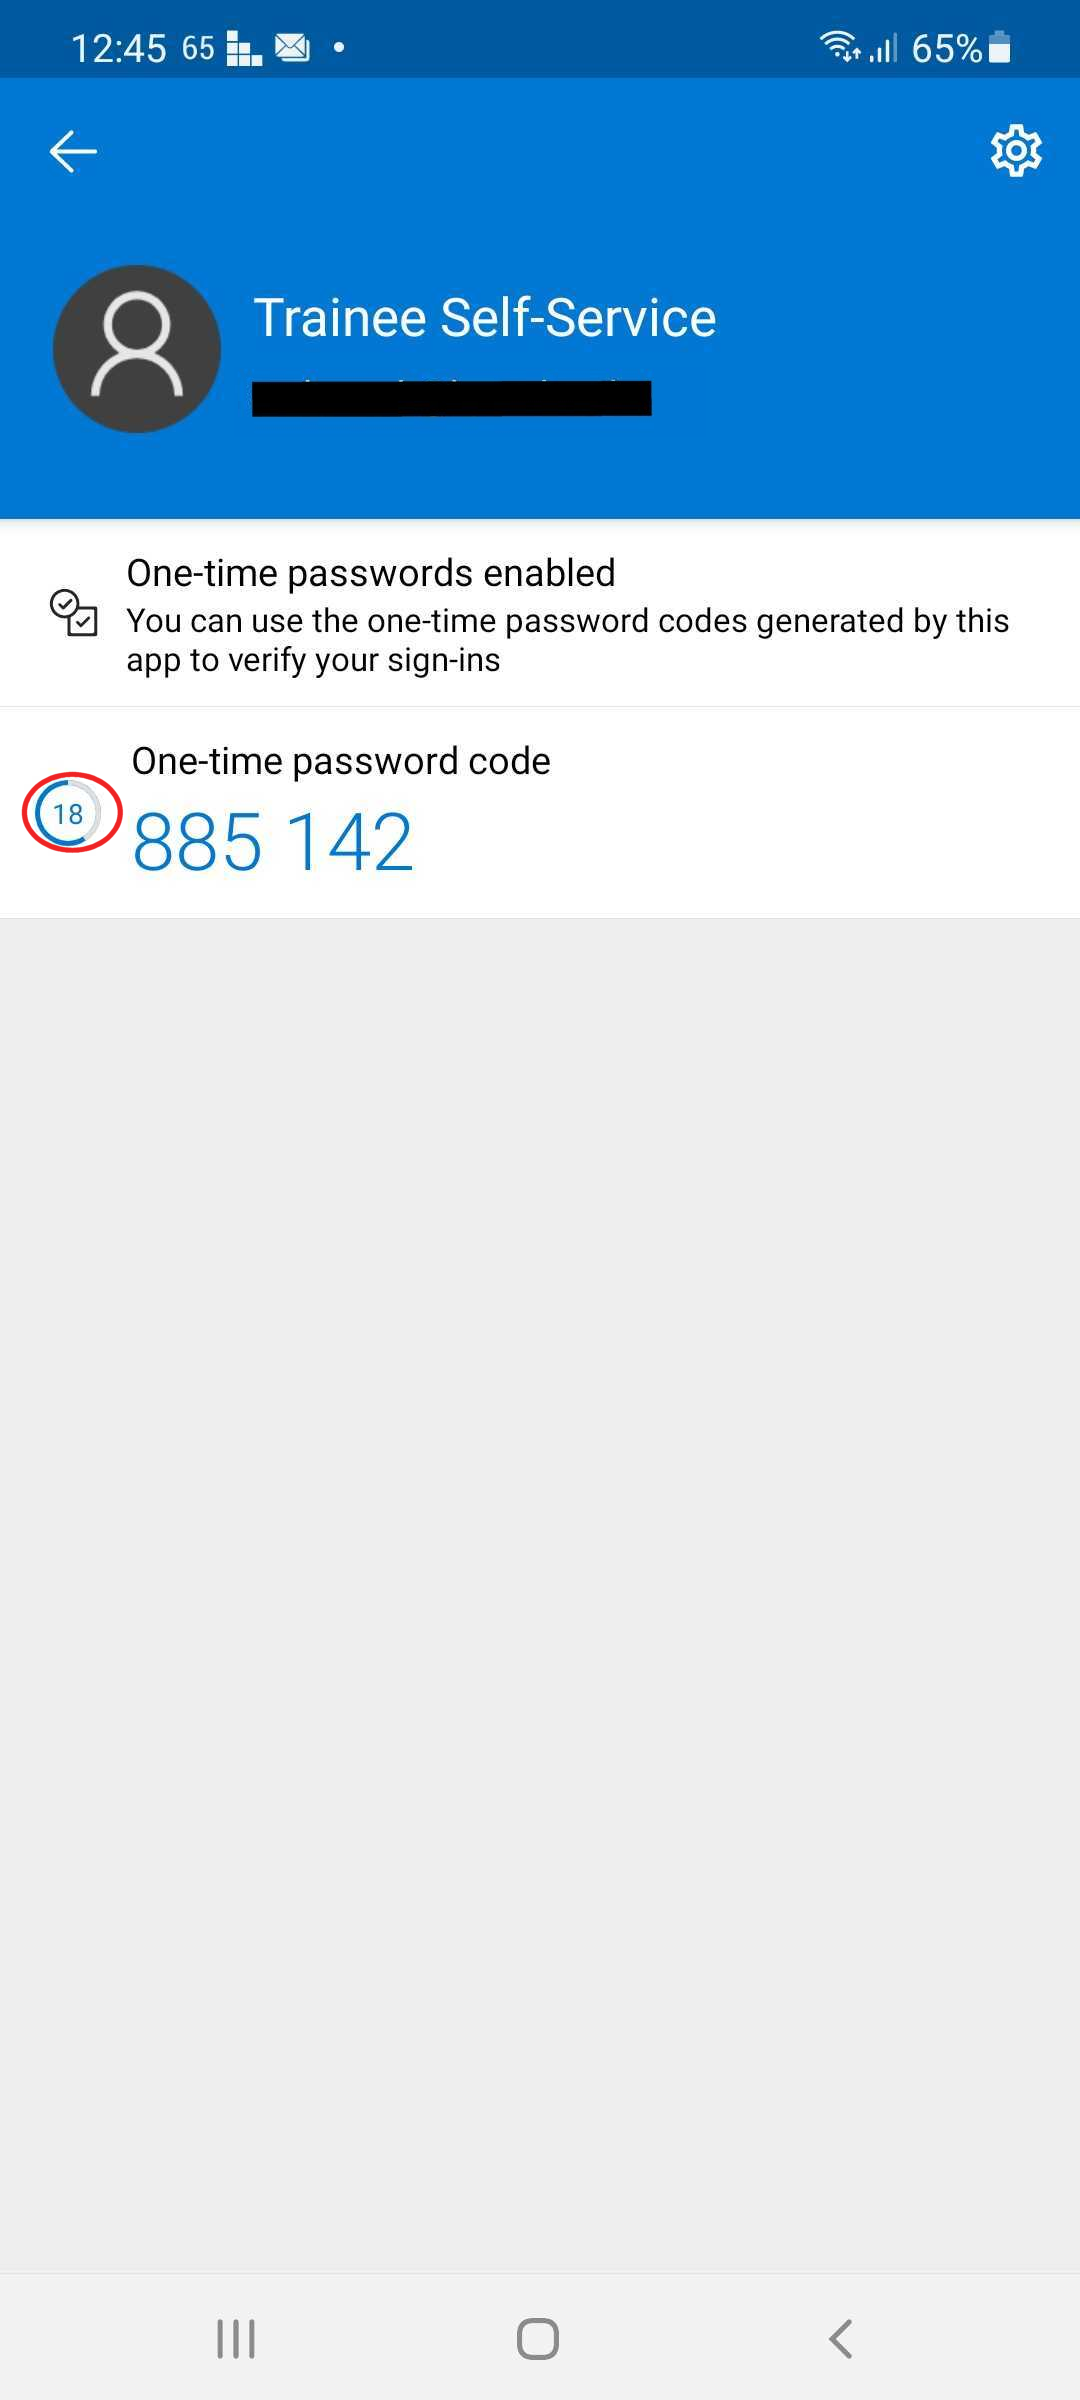
This code changes every 30 seconds. If the timer (to the left of the code) is only showing a few seconds left, you should wait till it refreshes.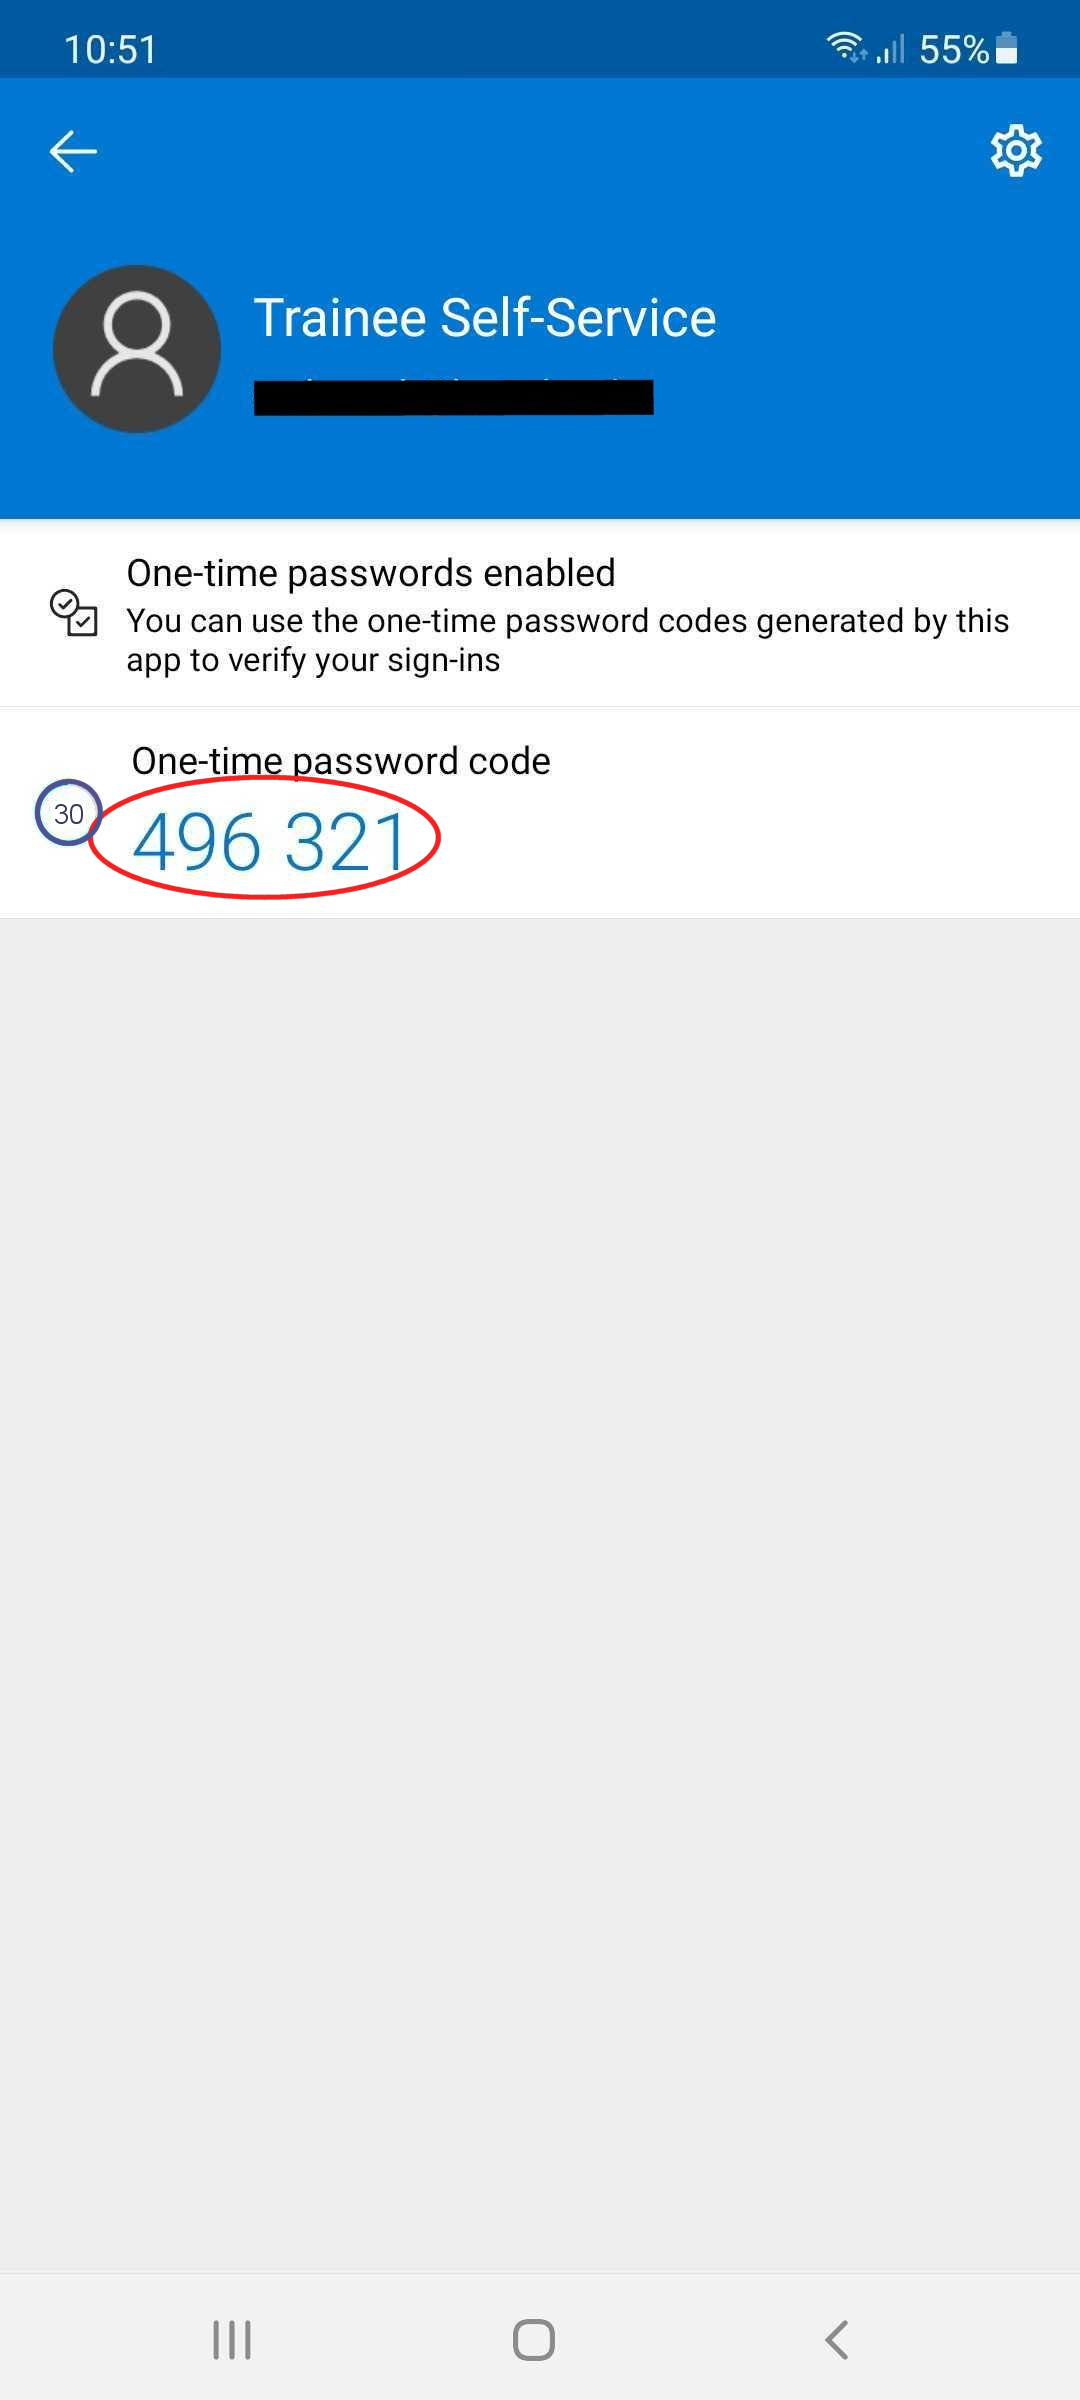
Then remember the 6 digit code, return to the Trainee Self-Service app, enter the code (do not include spaces) directly underneath the QR code you were presented and click Verify security code. You will be taken securely to the opening Profile page of the Trainee Self-Service app and your account is now authenticated.